Photo Gallery Tool
Adding and managing photo galleries and albums is easier than ever with the new CMS 7 Photo Gallery tool.
To access it, you’ll first need to log-in to the CMS and navigate to the Plug-Ins Manager. Once there, select “Photo Gallery” to launch the tool. To see how to access this, please go here: Accessing the Plug-Ins Manager.
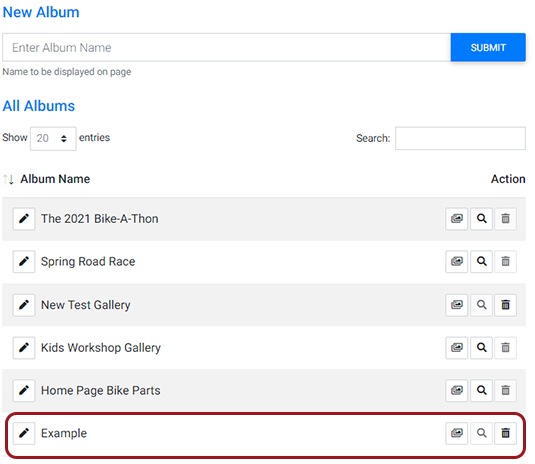
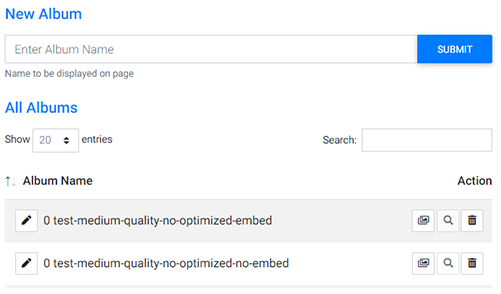
The following screen will appear. If there are already published albums on your website, they will also be visible at this screen:
With the Photo Gallery tool, you’ll also be able to:
- Create a New Photo Album
- Manage Image Details with the Image Editor
- Edit Images with the Image Editor
- Edit Existing Photo Albums
Are you ooking for instructions on how to assign a photo album to a page? Go here.
Create a New Photo Album
After selecting the Photo Gallery tool, you can add a new album from the top of the main page.
To do so:
- Enter the name of the gallery you’d like to create in the “New Album” field.
- Select Submit
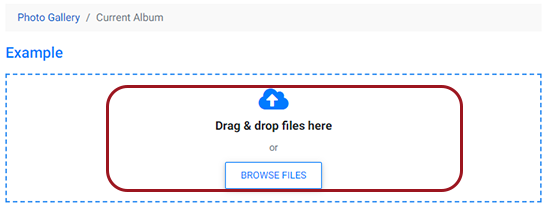
After selecting “Submit” the following screen will appear. To add photos to your new album:
- Drag and Drop photos into the box or click Browse Files to select them
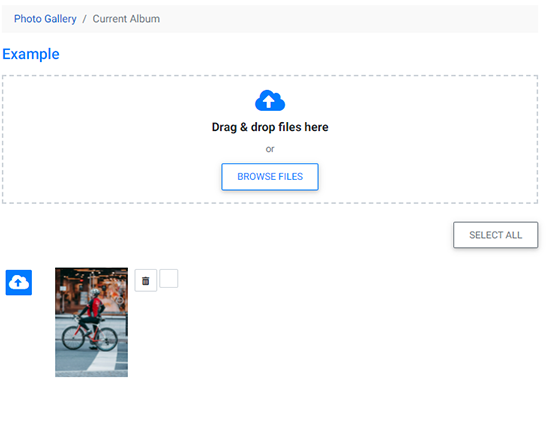
Photos that you selected will now appear below the new gallery:
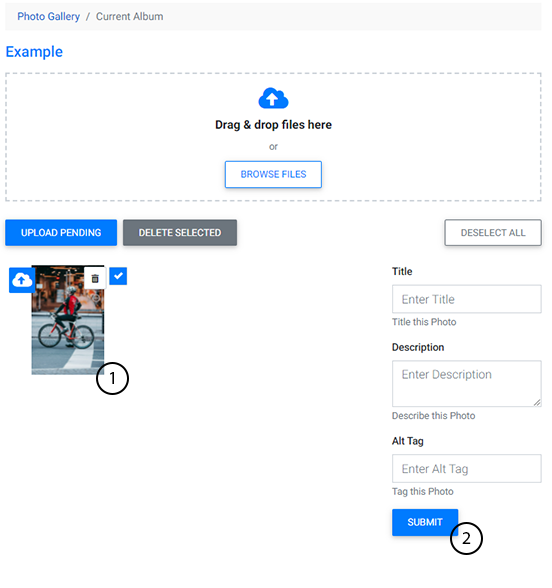
Next, you’ll need to upload the photos to the server to have them appear in your album. To do this:
- Select all photos (if there are multiple photos in the album) or
- Use the Upload feature connected to the individual photo
After uploading the photos, you can view the new album by navigating back to the main photo gallery page. It will now appear in the list of available albums:

.PNG)
